

I love a good simple DIY. Add a little Disney into the mix and I’m all in!

My favorite season is hands down fall. The colors, the comfort food and cooler air are just some of the reasons fall has my heart. So when I decided I was going to make these Mickey and Minnie wreaths to bring a little Disney fun into my home this season, I knew I wanted to use colors that would work from August through November. I decided to go with mauve and red colored leaves to give my wreaths the perfect comfort feel with a slight girly vibe. The burlap bow on my Minnie wreath was also the perfect rustic touch for fall. I love these earth tones but when you make your own, feel free to choose whatever color pallet brings your heart joy.
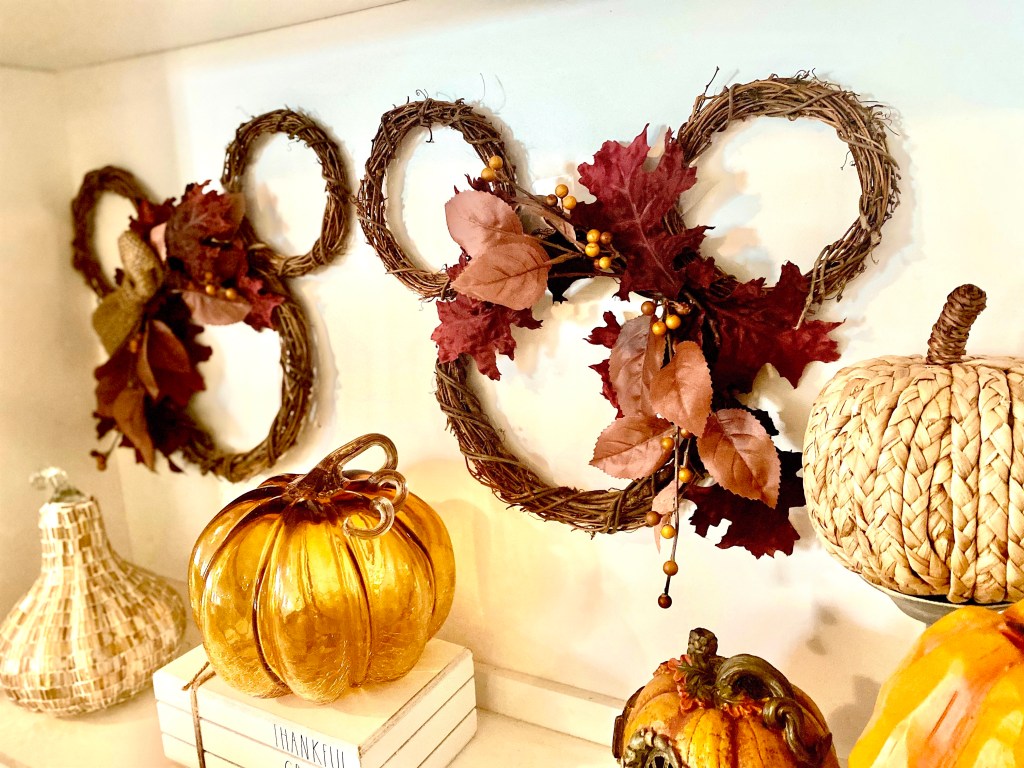
I found my wreaths at Hobby Lobby and picked up my faux stems from Target. Yes, Target! They were priced right and Joanna Gaines sure does know what she is doing with her Hearth & Hand™️ with Magnolia collection.

Here is what you will need:
- 2 Medium sized twig wreaths
- 4 small sized twig wreaths
- 1 Darker toned colored larger leaves for first layer
- 1 Lighter toned colored smaller leaves for second layer
- 1 Seasonal faux berry stems
- Hot glue gun
- Glue gun sticks
- Wire cutters or scissors
- Burlap ribbon
- Optional – floral wire
CAUTION! When handling a glue gun always use safe practices and supervise children if they are near or assisting.
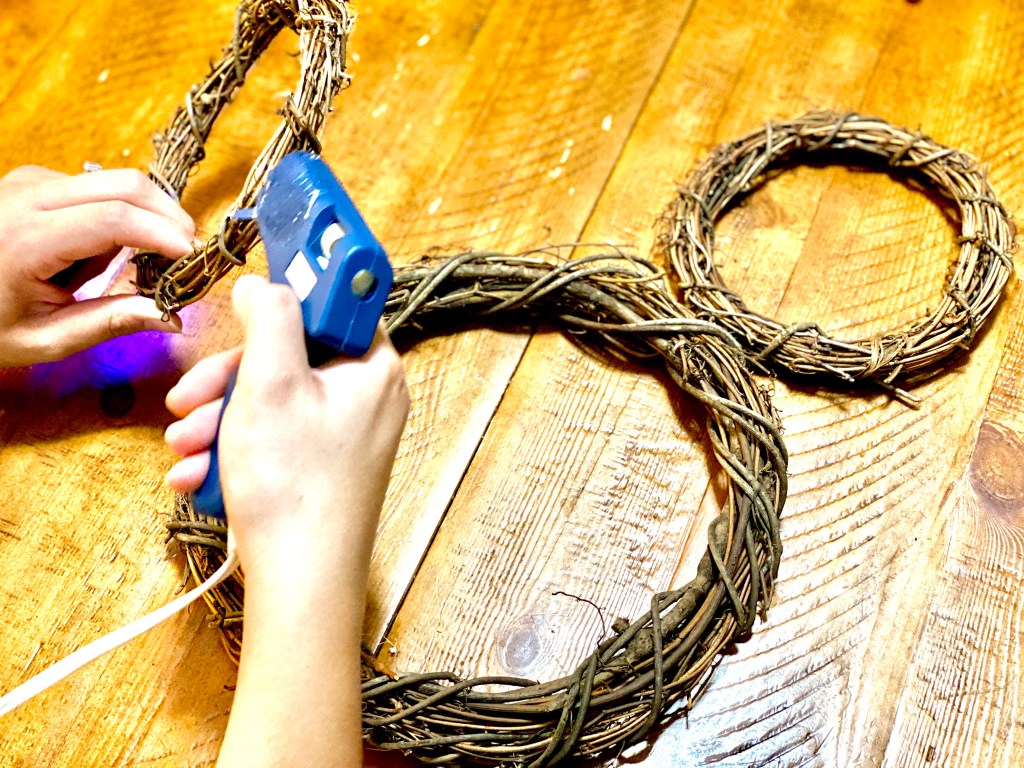
Lay out wreaths to make your Mickey so you know where to place your wreaths. Glue mini wreaths (ears) to your medium wreath (head). *optional – If you have floral wire on hand, you can use that to tie the wreaths together.
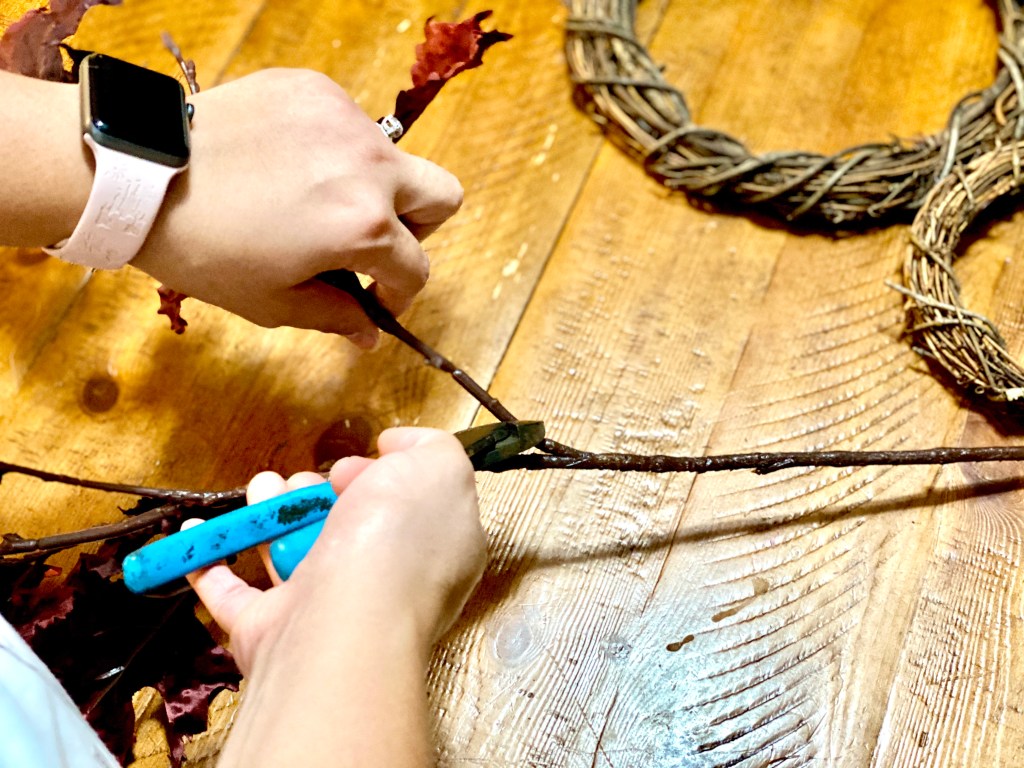
While your glue is setting, use wire cutters or scissors to trim your stems.

Your going to start layering with your larger darker leaves. Tuck the cut stems in between the twigs of the medium wreath like in the picture. This will hold them in place with no need of any additional glue or floral wire. You can arrange them like I did on the top part of your “Mickey head”. You could also arrange them with the leaves on the bottom instead. This is your project so do what you like. Just make sure to separate the leaves so they go in 2 directions like in the photo.

Then your going to grab your trimmed lighter smaller stems to use for your second layer. You will do the same as you did with the first layer and just tuck the ends in between the twigs on the medium wreath.

Now comes your third layer. Use your cut berry stems and again tuck them in the twigs of the wreath.

I personally didn’t like that I had a gap in the middle of the stems that separated into different directions. So, I glued a single red leave over that empty area to give it a fuller look. And your done with your Mickey wreath!
Now you can make your second wreath as a Minnie Mouse and arrange your leaves like I did on the opposite end of my “Mickey head”. Or make it on the same side. Totally up to you. I personally like them being opposites. I feel like it makes the set look more like, well, as a set. But, regardless of what you choose, just follow the same directions as above for layering your stems.

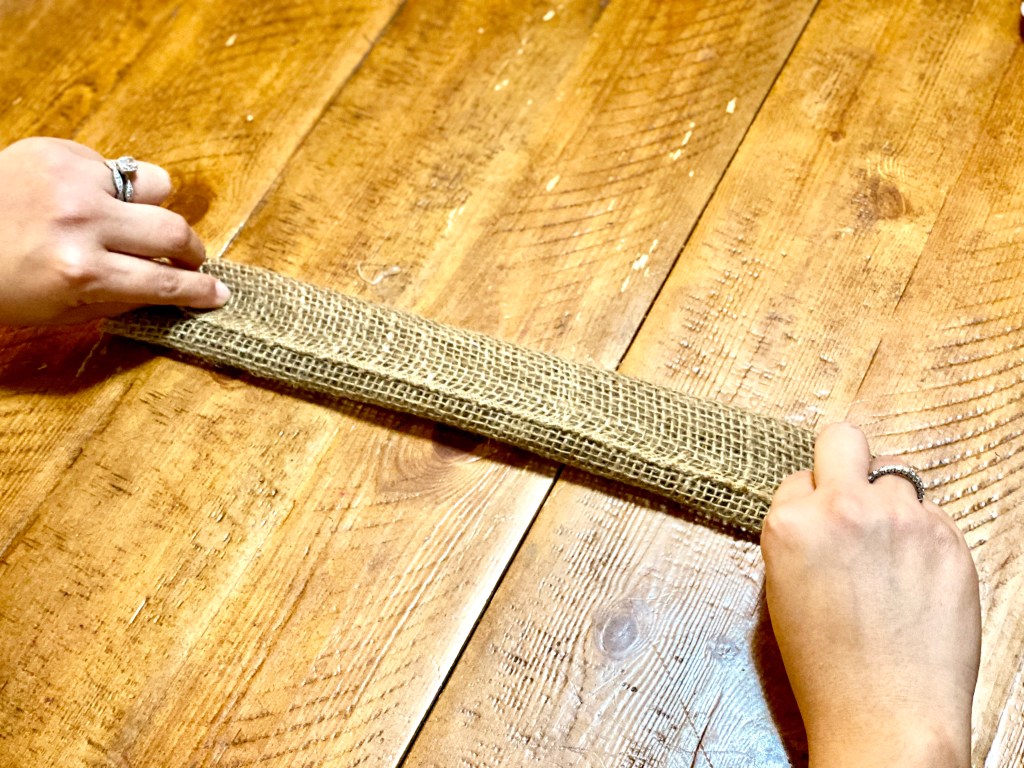
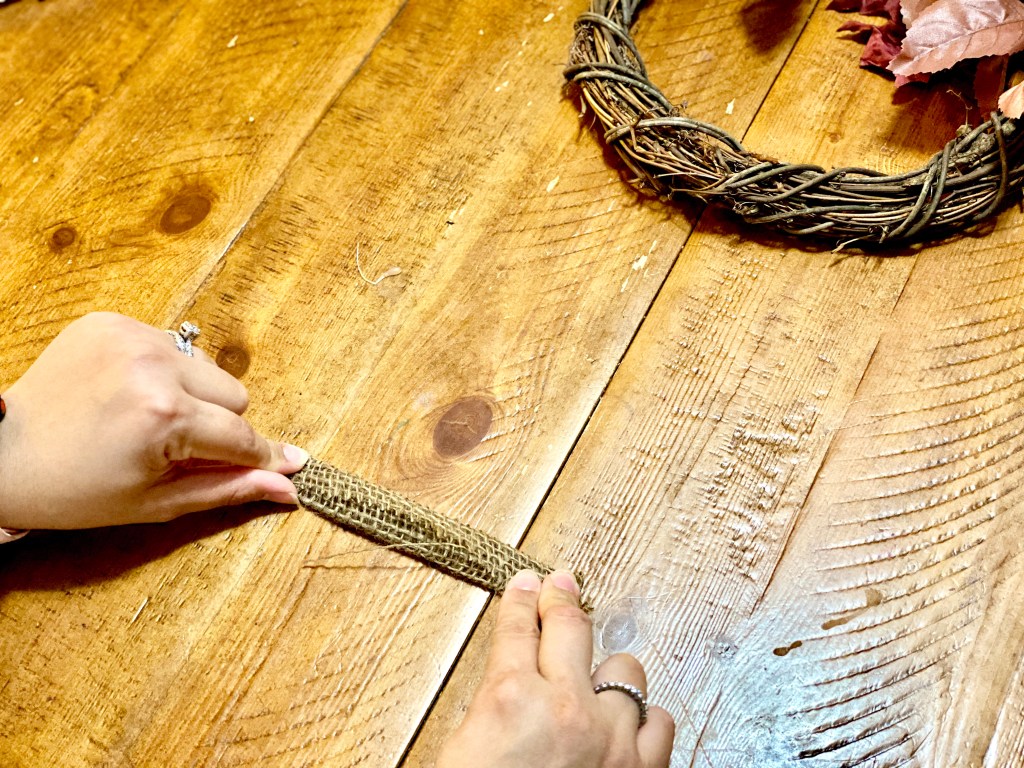
Ok, so let’s make a bow! Go ahead and cut about 10 inches of your burlap ribbon. Your going to fold the bottom of the long length end up. Glue it in place. Now fold the top down to meet your folded up bottom end. Again, glue it in place.

Bring your short end into the middle of your fabric and glue it in place.

Bring the opposite end into the middle to meet the other already glued down end and you already know, glue it in place.

Now grab your burlap ribbon again and cut about 2 inches off.

We’re going to fold the long bottomend up and glue it in place.
Fold your top long end down and glue it in place.
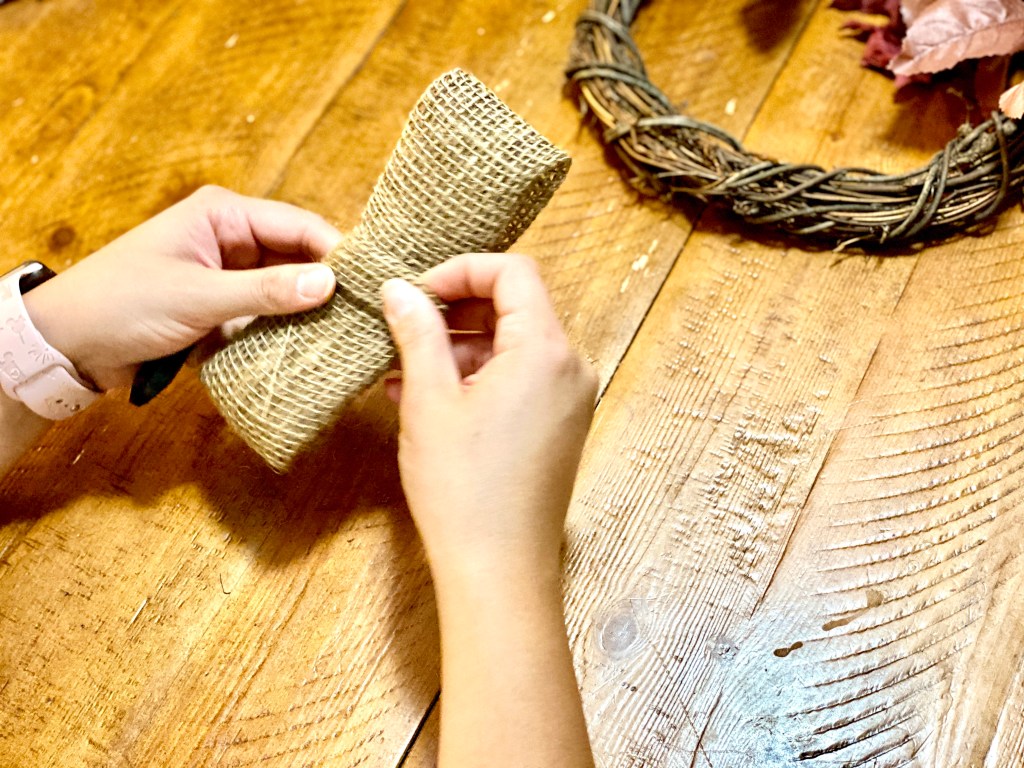
Grab your larger folded burlap piece. Your going to wrap the smaller section we just folded, around the middle of the bow. Glue the back in place and arrange your bow to your liking.
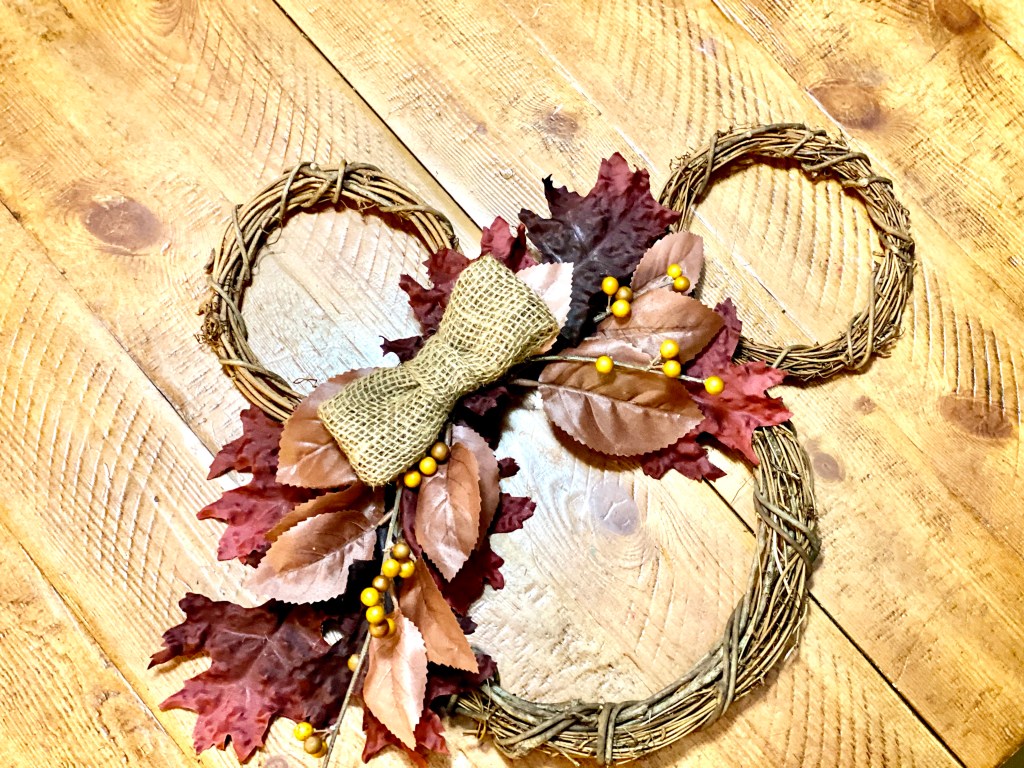
Glue bow in the empty spot of the wreath where your stems go into separate directions.

Ta-da! Your done! Super easy right? I hope your guys love your magical wreaths as much a I do. I hung mine with a command strip along some other festive decor. I cannot wait to see how you all style your’s!

